Path Tracing Renders
Path tracing is a rendering technique that simulates light transport for photorealistic results. Unlike real-time rasterization, path tracing accurately models:
- Global illumination: Light bouncing between surfaces
- Caustics: Light focused through glass or water
- Soft shadows: Realistic penumbra from area lights
- Color bleeding: Colored light bouncing onto nearby surfaces
- Realistic reflections and refractions: Physically accurate light paths
Vuer includes a WebGL-based path tracer for high-quality offline renders directly in the browser.
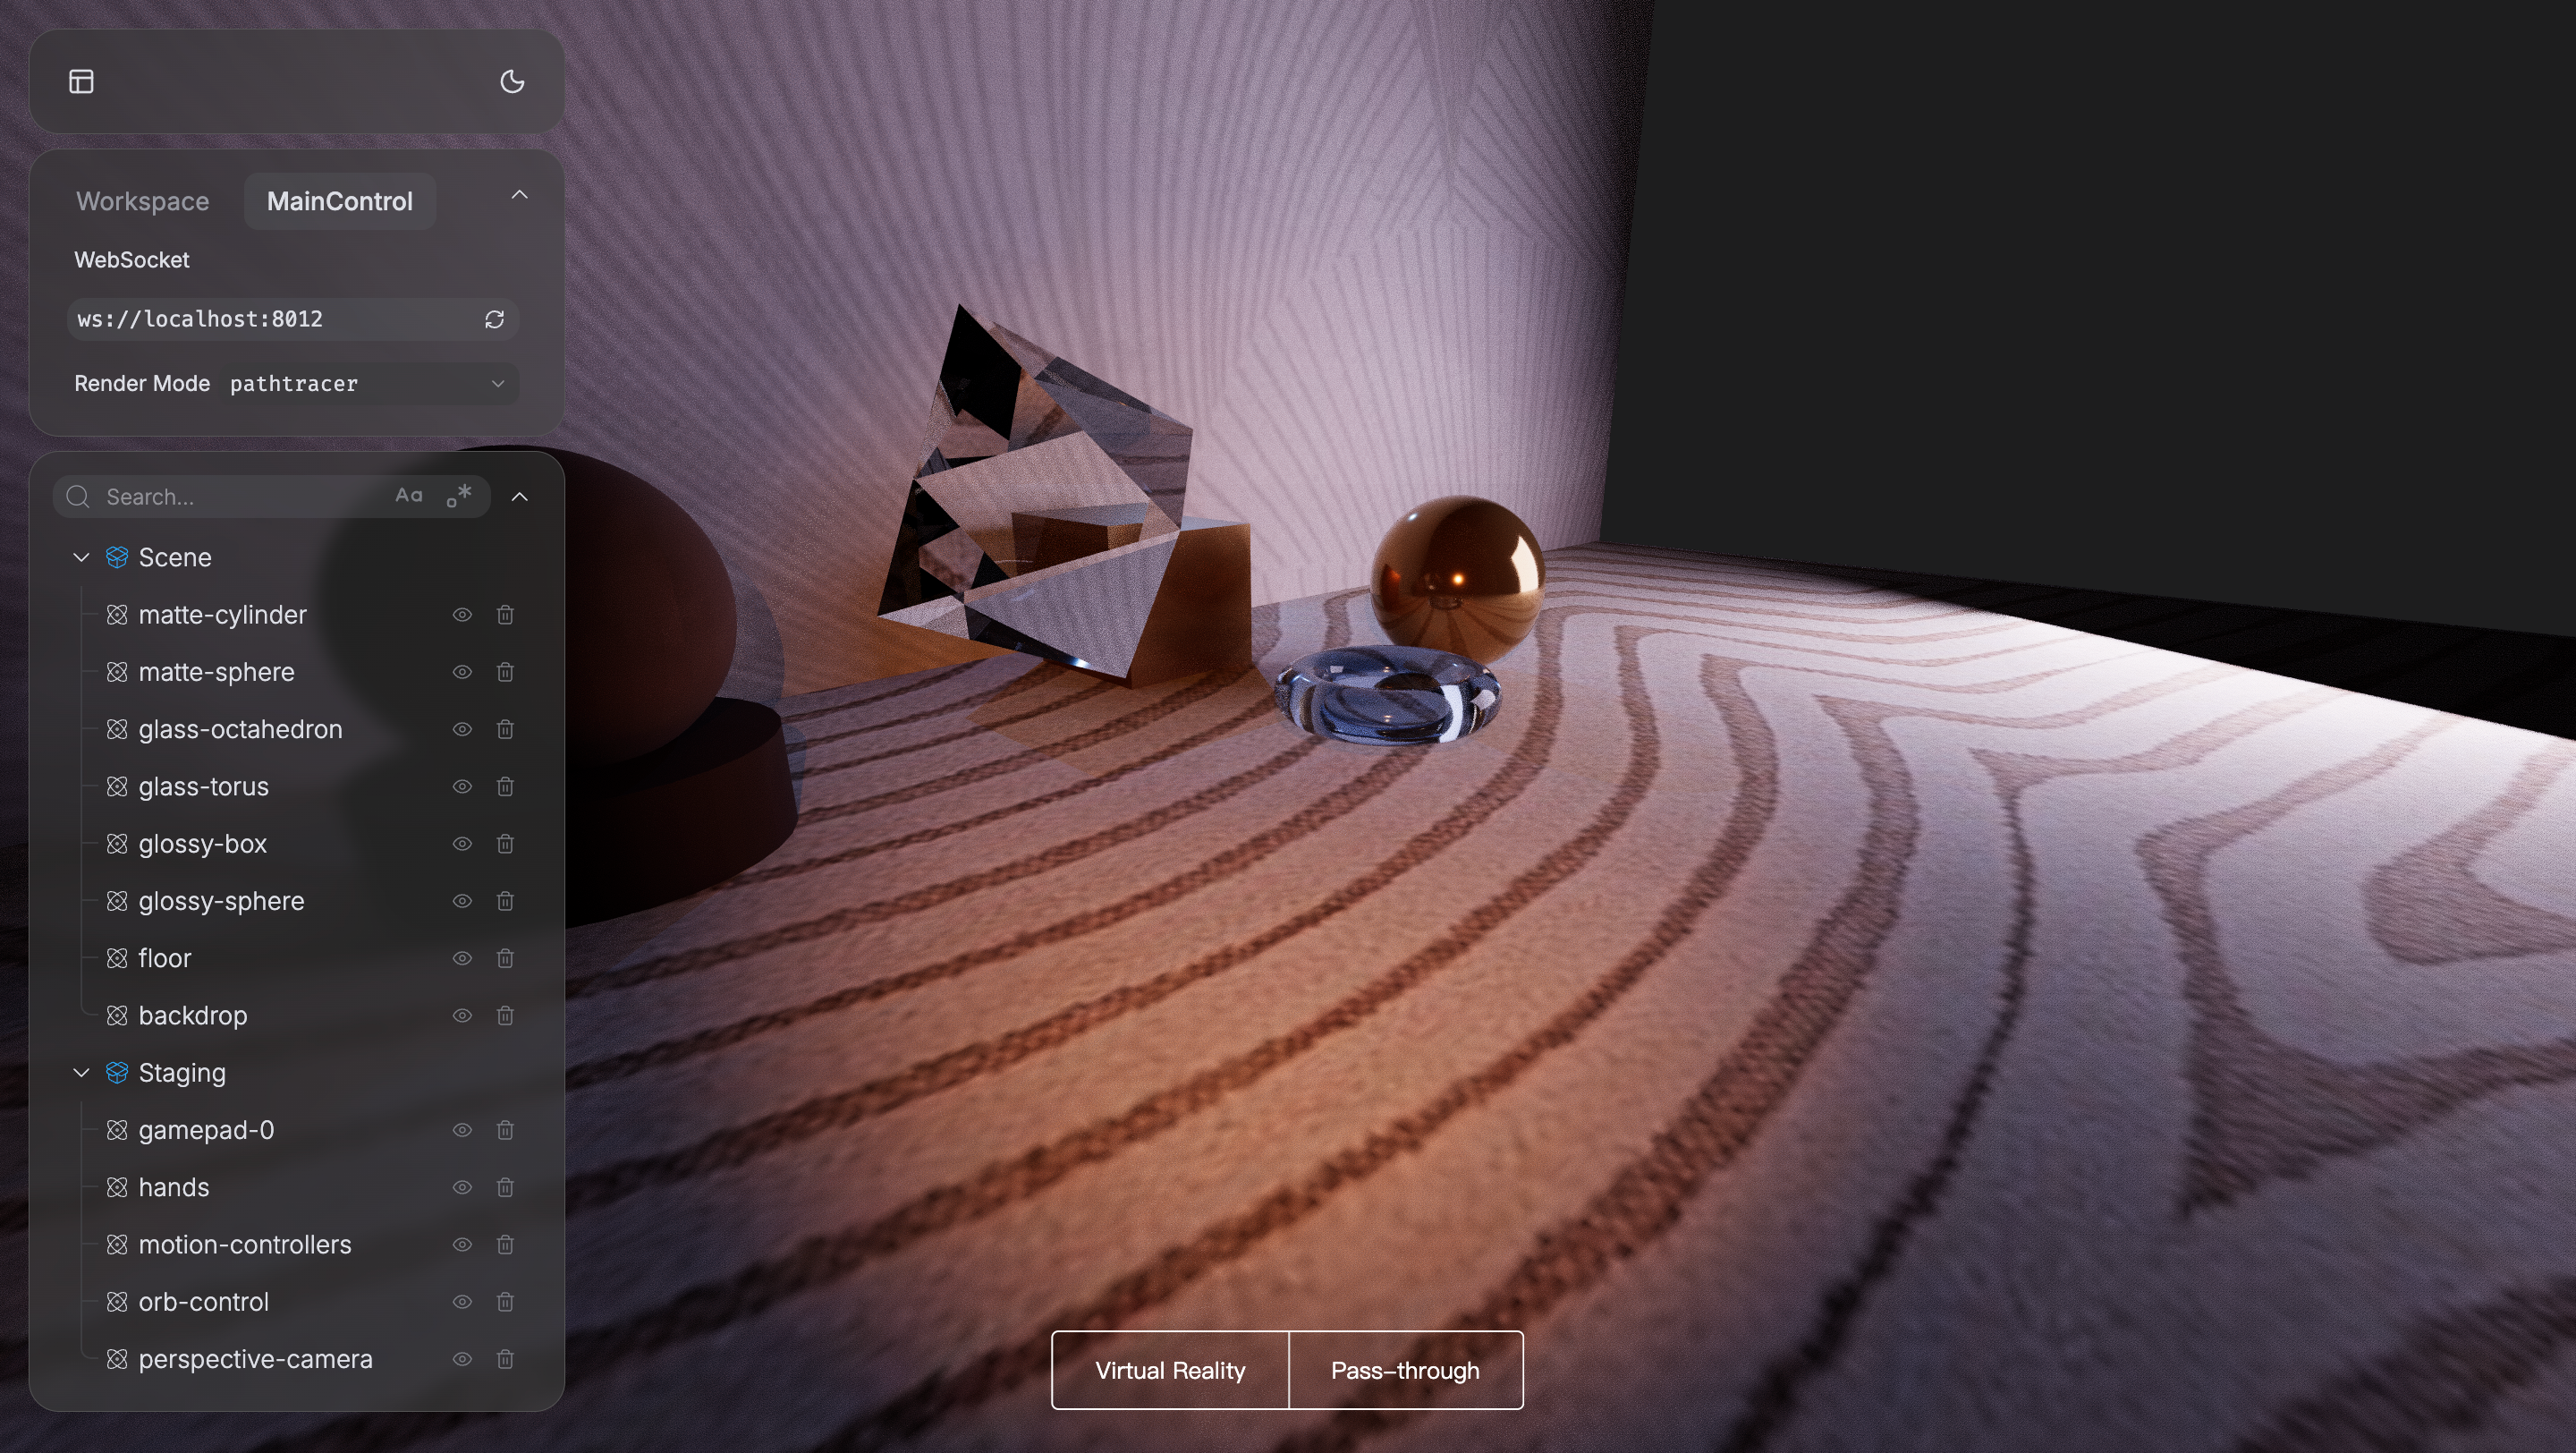
Example scene rendered with path tracing. Notice the realistic global illumination, soft shadows, and accurate light reflections that create a photorealistic appearance.
When to Use Path Tracing
Path tracing is ideal for:
- Final renders and presentations
- Product visualization
- Architectural visualization
- Scientific visualization requiring accuracy
- Marketing materials
Not recommended for:
- Real-time interaction (too slow)
- VR/AR applications
- Animations (unless pre-rendered)
- Mobile devices
Enabling Path Tracing
Path tracing mode can be enabled through the UI panel:
- Open your scene in a browser
- Click on the MainControl tab in the left panel
- Find the RenderRoot section
- Select "pathtracer" from the "Render Mode" dropdown
- Wait for the progressive rendering to converge
The path tracer will start rendering immediately with default parameters.
Path Tracer Parameters
// Default configuration
{
  enabled: true,             // Automatically enabled when mode="pathtracer"
  minSamples: 1,             // Minimum samples before display
  samples: 20,               // Total samples per pixel
  tiles: 3,                  // Tile subdivision (3x3 = 9 tiles)
  bounces: 4,                // Maximum light bounces
  resolutionFactor: 2,       // Render resolution multiplier
  renderPriority: 1,         // Render queue priority
  multipleImportanceSampling: true,  // MIS for better convergence
}
Samples (Quality)
Controls image quality and noise levels. Current default: 20 samples
- Low (5-10 samples): Fast preview, very noisy
- Medium (20-50 samples): Interactive preview, some noise
- High (100-500 samples): Production quality, minimal noise
- Very High (1000+ samples): Pristine quality, very slow
samples: 20    → Current default (good for quick previews)
samples: 100   → Would provide better quality for reviews
samples: 500   → Would be ideal for final renders
Bounces (Light Transport)
Maximum number of times light can bounce between surfaces. Current default: 4 bounces
- 1 bounce: Direct lighting only (no global illumination)
- 2-3 bounces: Basic indirect lighting
- 4-6 bounces: Good global illumination (recommended)
- 8+ bounces: Maximum accuracy (diminishing returns)
Effect on scenes:
bounces: 1  → Hard shadows, no color bleeding
bounces: 4  → Current default (soft indirect light, color bleeding)
bounces: 8  → Maximum realism, subtle improvements
Tiles (Progressive Rendering)
Divides the image into tiles for progressive feedback.
- 1 tile: Renders entire image at once (slower initial feedback)
- 2 tiles: 2x2 grid (4 tiles total)
- 3 tiles: 3x3 grid (9 tiles total) - recommended
- 4+ tiles: Many small tiles (faster initial preview)
Trade-offs:
- More tiles: Faster initial preview, see progress sooner
- Fewer tiles: Less overhead, faster final convergence
Resolution Factor
Multiplier for render resolution vs. display resolution.
- 0.5: Half resolution (4x faster, lower quality)
- 1.0: Native resolution
- 2.0: 2x supersampling (4x slower, sharper)
- 4.0: 4x supersampling (16x slower, maximum quality)
resolutionFactor: 0.5  → Fast draft
resolutionFactor: 1.0  → Standard quality
resolutionFactor: 2.0  → High quality
Multiple Importance Sampling (MIS)
Advanced sampling technique that combines light sampling and BRDF sampling.
- Enabled: Better convergence, fewer samples needed (recommended)
- Disabled: Simpler but may converge slower
When to enable:
- Complex lighting setups
- Mixed direct/indirect lighting
- Scenes with both bright and dark areas
When to disable:
- Debugging sampling issues
- Very simple scenes with minimal lighting
Materials for Path Tracing
Path tracing achieves photorealism through physically-based materials. The materialType="physical" provides the most accurate light interaction for path-traced scenes.
Glass and Transparent Materials Example:
material=dict(
    transmission=1.0,      # Full transparency
    thickness=0.3,         # Controls light absorption
    roughness=0.0,         # Perfect clarity
    ior=1.5,              # Refractive index (1.5 for glass)
)
Material Tips
- Use higher polygon counts (64+ segments) for smooth glass/metal reflections
- Set
iorappropriately: glass (1.5), water (1.33), diamond (2.42) - Combine
transmissionandthicknessfor colored glass effects - Use
clearcoatfor materials like car paint or varnished wood
Lighting for Path Tracing
Path tracing accurately simulates light transport, making lighting choices critical for photorealistic results.
Light Types
Area Lights (recommended for soft shadows):
- Use
RectAreaLightfor studio-style lighting - Larger area = softer shadows
- Intensity: 50-100 for main lights, 20-30 for fill
Point/Spot Lights (for caustics):
- Create focused light patterns through glass
- Higher intensity (100+) needed for visible caustics
- Best for dramatic lighting effects
Emissive Materials (act as area lights):
- Any surface with
emissiveandemissiveIntensity - Great for ceiling panels, screens, or glowing objects
- More efficient than many small lights
Lighting Tips
- Use 2-3 main lights maximum (key, fill, rim)
- Area lights create the most realistic soft shadows
- HDRI environment maps provide natural ambient lighting:
Free HDRIs: Poly Haven, HDRI HavenSceneBackground(src="https://example.com/studio.hdr", key="hdri") - Increase light intensity 2-3x compared to real-time rendering
- Combine direct lights with emissive surfaces for natural scenes
Workflow Strategy
Progressive refinement approach:
- Draft: Low samples (~5) for quick layout and composition
- Review: Medium samples (~50) for evaluating lighting and materials
- Final: High samples (500+) for production renders
Current default (20 samples, 4 bounces) provides a good balance for interactive previews.
Performance Optimization
Materials:
- Simplify materials on background/occluded objects
- Reduce unnecessary transparency layers
- Use standard
ior=1.5for most glass unless accuracy is critical
Lighting:
- Prefer fewer, larger area lights over many small ones
- Limit the number of emissive surfaces
- Use HDRI environment maps as primary lighting when possible
Scene Complexity:
- Reduce polygon count on objects far from camera
- Avoid extreme material values (perfect mirror/roughness extremes)
- Limit the number of transparent/transmissive objects
Best Practices
- Start simple: Test with low samples first
- Progressive refinement: Gradually increase quality
- Use physically-based materials: Better results with PBR
- Proper lighting: Area lights give best results
- Patience: High-quality renders take time
Limitations
Current path tracer limitations:
- WebGL-based (limited by browser GPU)
- No denoising (requires high sample counts)
- Progressive rendering only (no batch mode)
- Limited to browser viewport size
- No animation support
- VR mode not supported
Related Tutorials
- Materials and Textures - Learn about physically-based materials for realistic rendering
- Lighting - Understand different light types and how to use them effectively
- Post-processing Effects - Compare path tracing with real-time post-processing
External Resources
For deeper understanding of rendering theory:
- Physically Based Rendering (PBR) Guide
- Path Tracing Theory
- Material Properties Reference - IOR values for various materials